Fonts
Paintapp renders all text in WebGL using Signed Distance Field (SDF) outlines derived from the loaded font files. Fonts are private to your browser profile — they are stored in an in-browser virtual filesystem and never uploaded anywhere.
Font picker
The font family selector appears in Preferences → Interface and wherever a document layer lets you choose a typeface. Click the drop-down button to open the picker.
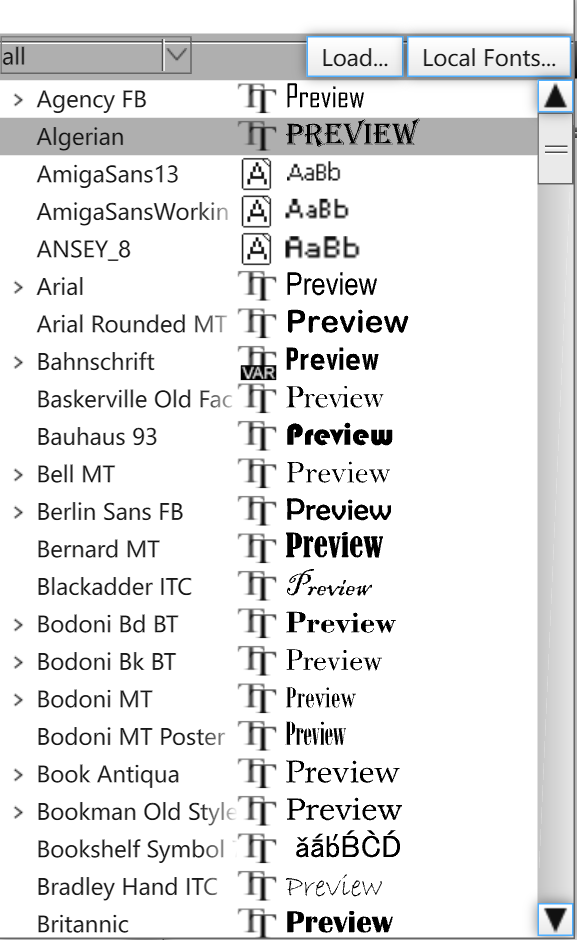
The list shows every loaded font family with a live preview rendered in that face. Type in the search box at the top to filter by name. Click a row to select the family; the drop-down closes and the choice is applied immediately.
Adding fonts
Fonts are stored in the user/fonts folder of the app's virtual filesystem, visible in the File Browser. The bundled fonts shown below are copied there automatically on first launch and are available without any extra steps.
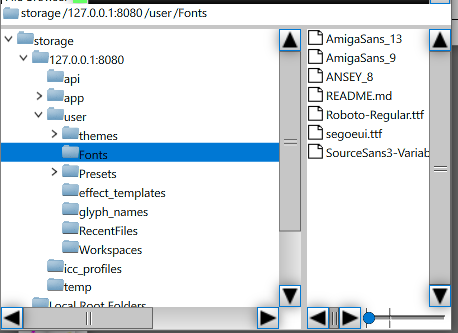
To add your own fonts, use any of these methods:
- Drag & drop — drag font files from your file manager onto the app window.
- Load… button — click Load… inside the font picker to open a file browser and select one or more font files.
- File Browser — open a folder that contains font files; double-clicking a supported font file loads it.
Loaded fonts are persisted in the in-browser virtual filesystem and are available the next time you open the app.
Local Fonts
The Local Fonts… button in the font picker uses the
Local Font Access API
to list fonts installed on your operating system.
The browser will ask for the local-fonts permission the first time.
Local fonts you select in Preferences → Interface are cached in the virtual filesystem, under temp/cached-local-fonts, so they are still there on the next start even if the permission has lapsed.
Why the browser asks
The exact list of fonts installed on a machine is close to unique, so reading it is by itself enough to recognize the same browser across unrelated sites — a tracking technique known as font fingerprinting. It can also leak more than typography: a set of corporate or licensed fonts says something about who you work for and which software you own. Browsers therefore treat the installed-font list as private data and put it behind a permission prompt.
Declining costs you nothing else. Everything under user/fonts — the bundled fonts and any font files you added yourself — is read from the app's own virtual filesystem and is unaffected. On Firefox and Safari, which do not implement the Local Font Access API at all, that folder is the only route: copy or drag the font files you need into user/fonts.
 Chrome Chrome |
 Edge Edge |
 Firefox Firefox |
 Safari Safari |
|---|---|---|---|
| ✔ 103+ | ✔ 103+ | ✘ No | ✘ No |
Supported formats
| Format | Description |
|---|---|
| TTF | TrueType Font |
| OTF | OpenType Font (CFF outlines) |
| WOFF | Web Open Font Format |
| WOFF2 | Web Open Font Format 2 |
| TTC | TrueType Collection (multiple faces in one file) |
| FNT / FON | Windows bitmap fonts |
| ABMF | Amiga bitmap font |
Text rendering
Text is rendered entirely in WebGL using SDF glyphs, so it scales cleanly at any size and remains crisp on high-DPI displays without the browser's native rasterizer.
Two rendering quality options are exposed in Preferences → Interface:
| Setting | Description |
|---|---|
| Hinting | Snaps glyph outlines to pixel boundaries at small sizes for sharper text. Disable if text looks distorted on your display. |
| Subpixel | Uses the RGB sub-pixels of an LCD panel to triple effective horizontal resolution. Disable if you see color fringing around text, or if you are on an OLED or rotated display. |
See Preferences → Interface to change the UI font family, size, hinting, and subpixel settings.
Glyphs panel
The Glyphs panel is a character map for the currently selected font. Open it from Window → Glyphs. Click any glyph to insert it at the text cursor, or drag it onto the canvas to place it as a new text layer.
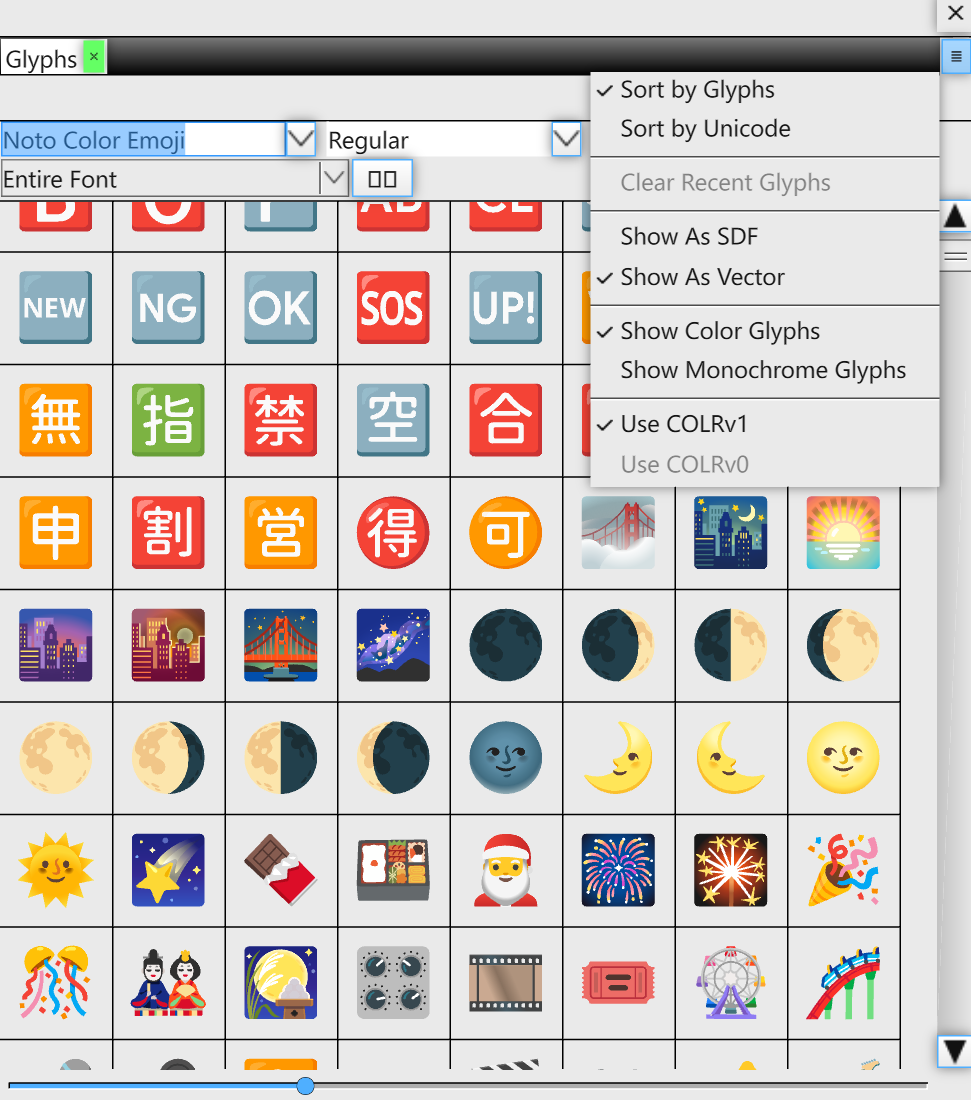
Glyphs panel with Noto Color Emoji loaded, showing the view options menu.
Color glyphs
Fonts that contain color glyph tables — such as emoji fonts — are rendered in full color. Two color formats are supported:
- COLRv1 — the modern vector-based color format with gradient and compositing support. Used by Noto Color Emoji and other current fonts.
- COLRv0 — the older layered-color format. Used as a fallback when COLRv1 is not present.
Use the Show Color Glyphs / Show Monochrome Glyphs toggle in the panel menu to switch between the color and monochrome views of the same font. Use COLRv1 / Use COLRv0 forces a specific color table when the font contains both.
View modes
Glyphs can be previewed in two rendering modes via the panel menu:
- Show As Vector — renders the glyph outlines directly, giving the most accurate representation of the shapes.
- Show As SDF — renders the SDF version used for real-time text drawing. Useful for checking how small glyphs will look at runtime.
Sorting and recents
The panel menu offers Sort by Glyph (index order) or Sort by Unicode (code-point order). Recently used glyphs appear at the top of the panel; choose Clear Recent Glyphs to reset the list.
Pinning glyphs
The pin button in the panel toolbar locks the current glyph selection in place. When glyphs are pinned, switching to a different font keeps the same characters visible — the panel shows the corresponding glyphs from the new font instead of resetting to the beginning. This makes it easy to compare how the same character looks across multiple fonts.
Filtering by category
The drop-down at the top of the panel filters which glyphs are shown:
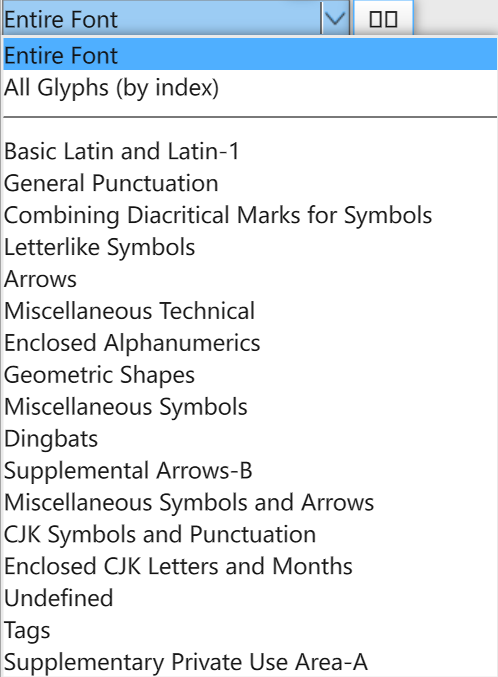
- Entire Font — shows every character the font maps to a Unicode code point. This is the default view and matches what you can actually type or insert by code point.
- All Glyphs (by index) — shows every glyph in the font's internal glyph table, including glyphs that are never directly mapped to a character. Many characters are built from multiple component glyphs — for example, a composite accented letter may consist of a base glyph and a separate combining diacritic glyph. This view exposes all those individual parts.
Below those two entries the list shows the Unicode blocks that the font actually covers — for example Arrows, Dingbats, or CJK Symbols and Punctuation. Selecting a block narrows the panel to just those characters. The exact categories vary from font to font depending on which blocks are represented.